
Creating footwear that reflects your unique personality and style has become more than just a passing trend; it represents a meaningful way to stand out in a world dominated by mass-produced items. Whether you are drawn to the artistic challenge or simply wish to wear something that no one else possesses, the journey of crafting custom trainers offers an exciting blend of creativity and practicality. The process involves careful planning, a thoughtful selection of materials, and a step-by-step approach that transforms a simple pair of shoes into a personal statement. By understanding the essential tools and techniques, anyone can embark on this rewarding project and discover the satisfaction of wearing something truly one-of-a-kind.
Gathering your materials and design inspiration
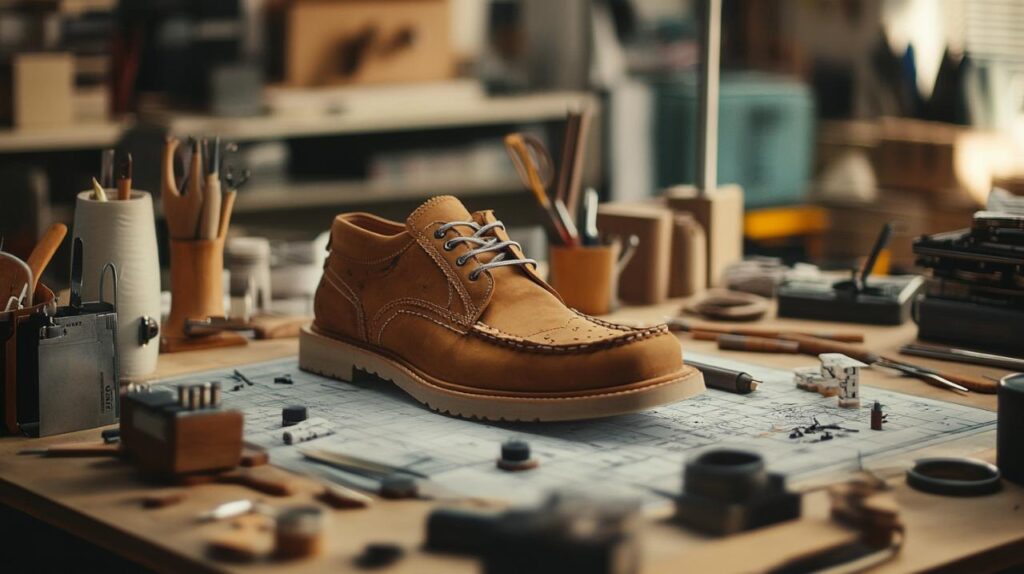
Essential Tools and Supplies for Custom Footwear
Before diving into the creative process, assembling the right materials and tools is crucial for achieving a professional finish. The foundation of any custom shoe project begins with selecting a suitable base pair, such as canvas or leather trainers. Canvas options are particularly popular among beginners because they readily accept acrylic paint, while leather surfaces require specialised products like Angelus leather paint to ensure vibrant, long-lasting colours. Beyond the shoes themselves, you will need a variety of supplies including fine-detail brushes in sizes ranging from zero to four, acetone or a dedicated leather preparer for cleaning, and a weather-resistant finisher to protect your design from the elements. High-quality adhesives such as E6000 are indispensable for attaching embellishments like studs or rhinestones, and a clear sealant will safeguard your artwork against moisture and everyday wear. Additionally, fabric markers can be useful for initial sketching, and protective tape will help you mask off areas that should remain untouched during painting. Fine-grit sandpaper is another essential tool, as it prepares the surface by creating a texture that allows paint to adhere more effectively. For those who wish to delve deeper into shoemaking from scratch, materials such as cork or shoe leather for soles, thread, eyelets, and laces become necessary. Traditional shoemaking also requires tools like an awl, an eyelet puncher, pliers, and a cutting mat. A sewing machine or strong needles and thread will be needed to join fabric pieces, while a utility knife and scissors ensure precise cuts. The choice of materials extends to the uppers, where options include leather, suede, canvas, or synthetic fabrics, each offering distinct qualities in terms of durability, breathability, and support. Soles can be crafted from rubber, leather, or EVA foam, depending on the intended use and comfort preferences. Insoles, laces, and decorative elements like studs all contribute to the final aesthetic and functionality. Investing in quality materials from the outset not only enhances the appearance of your finished footwear but also ensures that your custom creation will withstand regular use. The total cost for a basic project can be kept under fifty pounds, making this an accessible hobby for those who appreciate handmade craftsmanship.
Finding your unique style and design direction
Once your workspace is stocked with the necessary tools and materials, the next step is to cultivate a vision for your custom trainers. Drawing inspiration from a wide array of sources can help you develop a design that resonates with your personal tastes and tells a story. Pop culture references, such as characters from beloved films or iconic album covers, often provide a rich visual language that translates well onto footwear. Nature and landscapes offer another avenue, with floral patterns, tropical themes, and earth tones lending a sense of tranquillity and organic beauty. Abstract art and street art movements, including graffiti, bring bold colours and dynamic shapes that capture attention and convey a sense of urban energy. Historical eras and cultural patterns can also inform your design, whether you are drawn to the geometric motifs of Art Deco or the intricate textiles of traditional crafts. Music and genres, seasonal themes, and personal memories all serve as fertile ground for creative exploration. For instance, springtime might inspire delicate floral patterns and pastel colours, while winter could lead you towards galaxy prints and metallic accents. Sports and hobbies, fantasy and sci-fi elements, and even custom text or quotes can be woven into your design to reflect individual interests and values. Modern minimalism with subtle colour blocking and geometric patterns has become increasingly popular, appealing to those who prefer understated elegance. Animals and wildlife motifs add a playful or majestic touch, depending on your chosen subject. It is important to consider the intended use of your trainers during the design phase, as casual everyday wear may call for different aesthetic and functional choices compared to footwear meant for sports or special occasions. Sketching your ideas on paper before committing to the actual shoes allows you to experiment with different layouts and colour schemes without risk. This preliminary planning stage is where you can refine your vision and ensure that each element of the design works harmoniously together. The goal is to create your own personalized shoes step-by-step in a way that feels authentic and meaningful, transforming a blank canvas into a wearable piece of art that reflects who you are.
The creation process: from concept to finished product
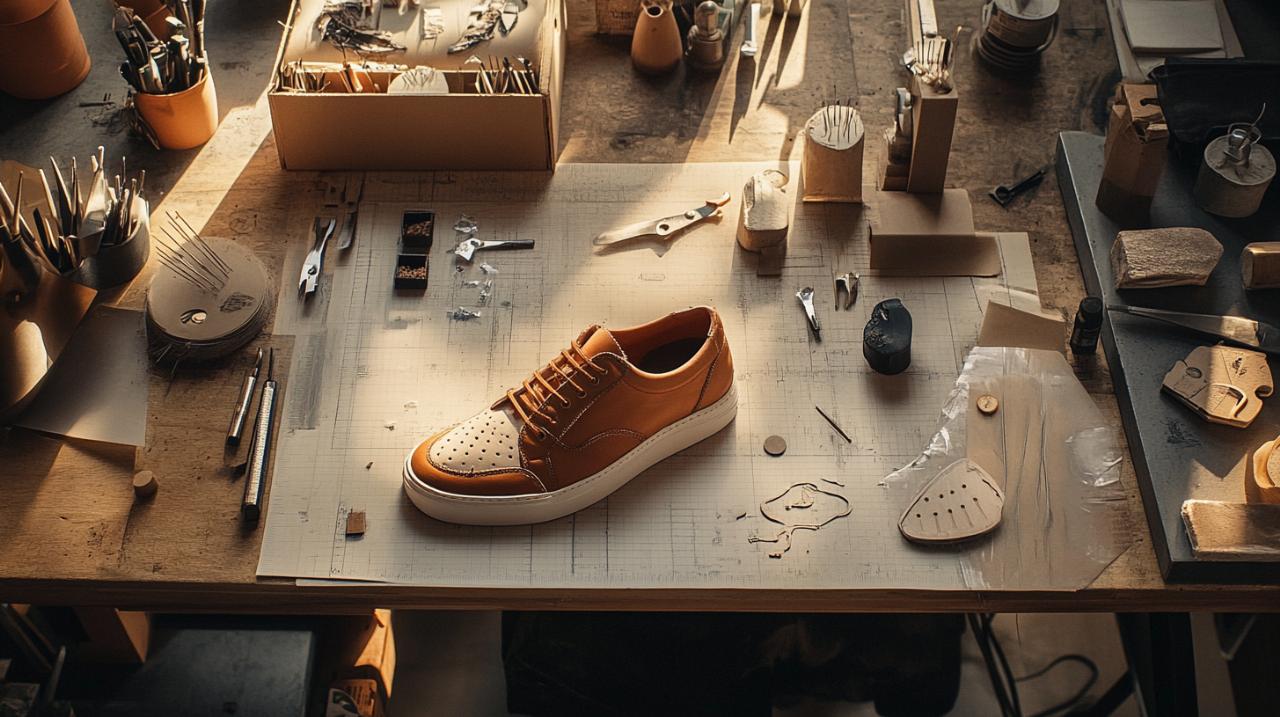
Preparing and customising your base trainers
With a clear design in mind and all materials at hand, the actual creation process can begin. The first task is to thoroughly clean your base trainers to remove any dirt, oils, or factory finishes that might prevent paint or adhesive from bonding properly. Using acetone or a leather preparer, wipe down the entire surface of the shoes, paying particular attention to areas that will receive the most decoration. Fine-grit sandpaper should then be used to gently scuff the surface, creating a texture that enhances paint adhesion. This preparatory work is essential for achieving a smooth, professional-looking finish and should not be rushed. Once the shoes are clean and prepped, apply protective tape to any sections you wish to keep in their original state, such as the soles or specific panels. This masking step ensures crisp lines and prevents accidental smudges. The next phase involves applying a base coat of paint evenly across the surfaces you intend to customise. It is advisable to use thin layers rather than thick applications, as this allows for better control and reduces the risk of cracking. Each layer should be allowed to dry for fifteen to twenty minutes before the next is applied, and typically three to six coats are necessary to achieve full coverage and vibrant colour. Patience during this stage is vital, as rushing the drying process can compromise the integrity of your artwork. For those working with more complex designs, stencils can be invaluable for adding logos, patterns, or intricate details. Fine brushes are ideal for hand-painting delicate elements and for blending colours seamlessly. If you are incorporating multiple colours, consider how they interact and whether you need to layer them to achieve the desired effect. Customisation techniques extend beyond painting; embroidery, screen printing, laser engraving, and heat transfer vinyl are all methods that can add texture and depth to your design. Digital printing and sublimation printing offer advanced options for those who have access to specialised equipment. For a more tactile approach, studding and the application of rhinestones or patches can introduce three-dimensional elements that catch the light and draw the eye. Dip-dyeing is another creative technique that produces gradient effects and unexpected colour combinations. If you are crafting shoes from scratch rather than customising an existing pair, the process involves additional steps such as creating a last, which is a foot-shaped mould used to shape the shoe. This can be made by casting your own foot using alginate and a casting material like Permastone, or by purchasing a ready-made last in your size. Covering the last in masking tape and drawing the shoe pattern directly onto it allows you to create a custom fit that is perfectly tailored to your foot shape. The pattern pieces are then cut out, flattened, and traced onto paper with a seam allowance added. Cutting the fabric or leather pieces requires precision, and each piece must be cut twice to create both the outer and inner layers. Sewing the pieces together, whether by machine or by hand, demands attention to detail and a steady hand. Techniques such as the Goodyear welt, Blake stitch, or other traditional methods ensure that the upper is securely attached to the sole. After the upper is assembled and attached to the insole, the midsole and outsole are added. Cork or shoe leather can be soaked in water for twenty-four hours to make them pliable, allowing you to shape the sole to the contours of your foot. Trimming excess material and gluing in additional layers completes the construction. Heels and treads can be added for extra support and traction, and the final layer of cork or leather on the sole provides a polished finish. Throughout this process, quality control is paramount; inspecting each stage for flaws and making adjustments as needed ensures that the finished product meets your standards. The time required to complete a custom shoe project varies widely, ranging from under twenty hours for a simple customisation to several weeks for a fully handmade pair. Regardless of the complexity, the satisfaction of creating footwear that is uniquely yours is well worth the effort.
Adding personal touches and final finishing details
Once the main structure and design of your custom trainers are complete, the focus shifts to the finishing touches that elevate your creation from a simple project to a refined piece of wearable art. Installing eyelets for laces is a straightforward task that requires an eyelet puncher and a steady hand. Positioning the eyelets evenly and securely ensures that the laces function smoothly and contribute to the overall aesthetic. Trimming any excess material, such as fabric that extends beyond the seams or glue residue, gives the shoes a clean, professional appearance. For leather trainers, polishing with a suitable conditioner enhances the natural lustre and protects the material from drying out. Applying a weather-resistant finisher or a clear sealant is a critical step that safeguards your design against moisture, scuffing, and fading. This protective layer should be applied in thin, even coats and allowed to dry completely between applications. Testing the shoes by wearing them around your home allows you to assess comfort and make any necessary adjustments. If the fit is too tight or certain areas cause discomfort, minor modifications such as adding extra padding or adjusting the lacing can improve the overall experience. It is also an opportunity to observe how the design holds up under movement and to identify any areas that may need reinforcement. Personal touches can extend beyond the visual design to include custom insoles that provide additional support or cushioning, or the selection of unique laces that complement the colour scheme. Some creators choose to add a maker's mark or signature on the inside of the shoe, a small detail that adds a sense of pride and ownership. For those interested in pursuing custom footwear as a business opportunity, establishing a consistent finishing process and quality control routine is essential. Print-on-demand suppliers and custom sole services can help scale production while maintaining a high standard. Understanding current trends, such as minimalist designs with subtle colour blocking, abstract patterns with splatter effects, and nature-inspired motifs, can inform your design choices and appeal to a wider audience. Seasonal ideas, such as bright hues and tropical themes for summer or metallic accents and galaxy prints for winter, offer fresh inspiration and keep your work relevant. Common mistakes to avoid include rushing the process, which can lead to uneven paint application or weak adhesive bonds, and using low-quality materials that compromise the durability and appearance of the finished product. Taking the time to measure accurately, cut precisely, and apply finishes evenly will result in a pair of trainers that you can wear with confidence. The sense of accomplishment that comes from creating your own personalized shoes step-by-step is immense, and the skills you develop can be applied to future projects or even turned into a small business venture. Custom footwear is an expression of individuality and creativity, allowing you to wear your personality on your feet and to share your unique vision with the world.
Caring for your custom trainers is just as important as creating them, as proper maintenance will extend their lifespan and preserve the vibrancy of your design. Avoid wearing your custom footwear in harsh weather conditions, as excessive moisture or mud can damage both the materials and the artwork. If your shoes do get wet, dry them promptly with a soft cloth and allow them to air dry in a well-ventilated area away from direct heat sources. Cleaning should be done by hand using a damp cloth and mild soap, taking care to avoid harsh scrubbing that might abrade the paint or fabric. For leather shoes, a gentle conditioner can help maintain suppleness and prevent cracking. Store your trainers in a cool, dark place with good airflow, ideally in their original box or in individual shoe bags, to protect them from dust and sunlight. Keeping the storage area at a temperature between fifteen and twenty-one degrees Celsius and at a humidity level of fifty to sixty percent will prevent the materials from warping or deteriorating. Shoe trees can be used to help maintain the shape of the trainers and to absorb moisture, further prolonging their life. Regularly inspecting your shoes for signs of wear, such as loose eyelets or peeling paint, allows you to address minor issues before they become major problems. Touching up small scuffs or reapplying sealant as needed will keep your custom creation looking fresh and new. The investment of time and care in both the creation and maintenance of your custom trainers ensures that they remain a source of pride and a testament to your creativity and craftsmanship for years to come.